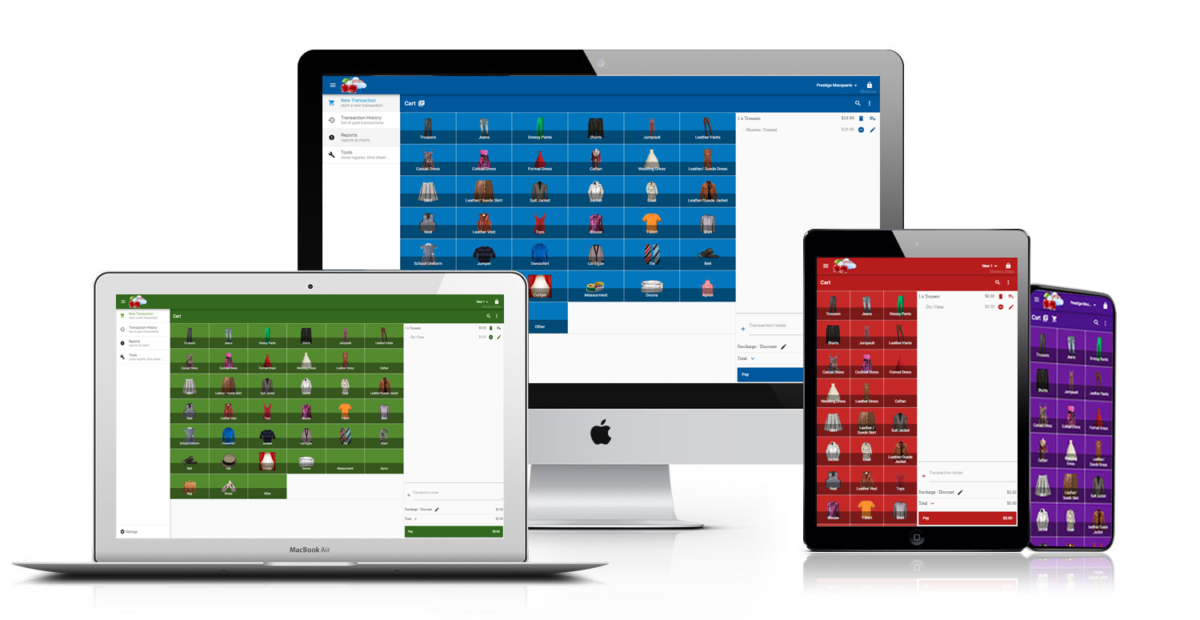
This article will provide information on how to add a company logo and customizing your receipts.
Adding your company logo to your Receipts (Epson printers)
To add your logo to the invoices, there are 2 main steps:
Step 1: Uploading your logo to the printer’s memory
To add a logo to your receipts, you must first download the Epson Printer Settings Utility from the following link
Epson Printer Settings Utility
After you download and install the Epson Printer Utility, please follow these steps:
- Select [Start Menu]/[Windows icon] – Click the [Type here to search] – Type [Epson Utility] – Locate the app [Name of your Printer Software for example, Epson Tm-T20 Utility].
- The following screen appears. Select the printer to use and click the [OK] button.

- Click on the Storing Logos button from the left hand navigation panel.

- Click the [Add] Button

- Specify the image data to be used as a logo.
Note: A file size of 2047 (W) x 831 (H) pixels (dots) or less can be specified, and the format can be bmp,
jpeg, gif, or png. If the logo width is greater than the paper width, a warning message will appear.
Click the [OK] button and reduce the logo size in the [Logo Edit] screen
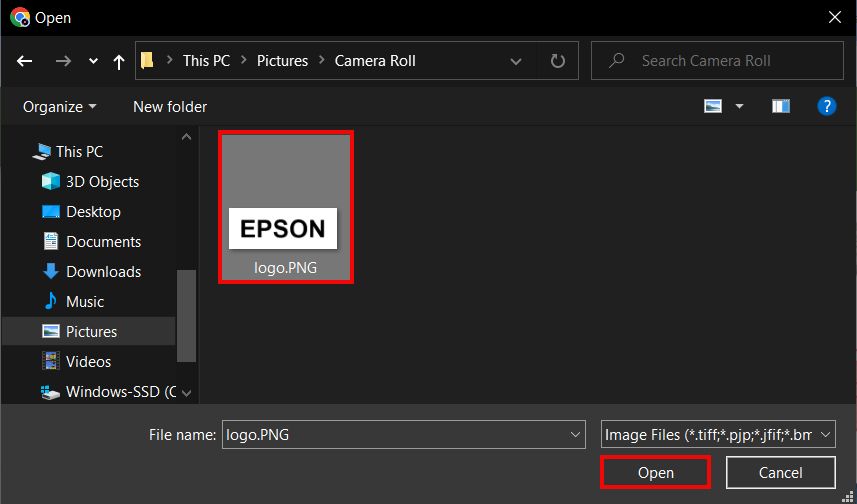
- The [Logo Edit] screen appears. Edit the logo image while checking the image
previewed on the upper portion of the screen. Click the [Monochrome] or [Multi-tone] button to select the format of the image to be printed. When finished, click the [OK]button.

- Edit the logo image size (we recommend 76mm)
- Then select where you want to align your logo (we recommend center alignment)
- You will then be asked to set the key-code for the logo to be stored. Make sure the settings matches the picture below and click OK.

- You should be able to see your logo as below picture. If not, try again using another file. BMP files are usually a better choice.

- Use the “Test Print” button to make sure the print is desirable.
- Click “Store to Printer” to store the logo.

The logo data is stored to the printer. You can now close out of the printer utility.
Step 2: Printing the logo using Geelus
- Open Geelus and navigate to “Settings -> Print Templates”.
- Click on the print template you wish to add logo to.
- Then click pen icon located at the top right corner.
- Add a line on the top (or where you wish to add the logo).
- Edit that line and add the logo by entering tag.
Adding your company logo to your Receipts (Star printers)
To add your logo to your receipts you must:
Step 1: Add your logo to the Star Configuration Utility Image List
Open the Configuration Utility TSP100 from your programs.
*Don’t have it? Download here.
- Navigate to Start/Windows icon
- Scroll down until you see the “Star Micronics” folder
- Tap on that to expand the folder and then select “Configuration Utility TSP100”.
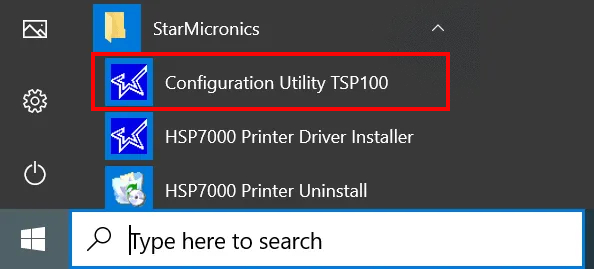
After a few seconds, a window like the one below will appear. It is important that you select ESC/POS Mode before you click [OK].
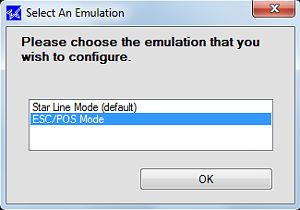
Select “Image List” and then click “Add New”.
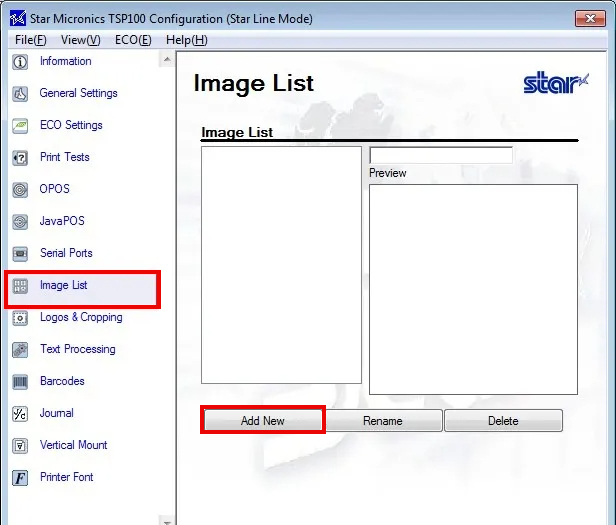
Navigate to the image that you want to print on your receipt. The image format must be bmp, jpeg or gif. Select the image and click open.
Step 2: Insert the added image into the receipt header
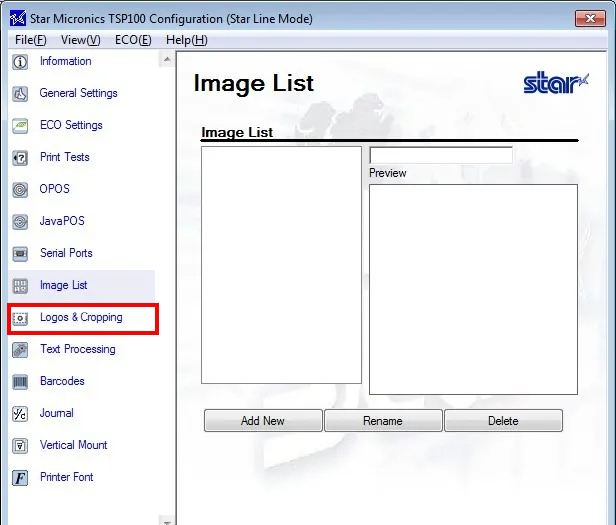
Click the Logos & Cropping Icon located on the left hand side.
*For this example we will add just one image to the top of the receipt
- For the section that says Top Image List, on the right hand said the options are Add, Delete, and then Cycle (or Print all if you press the drop down). Click Add.
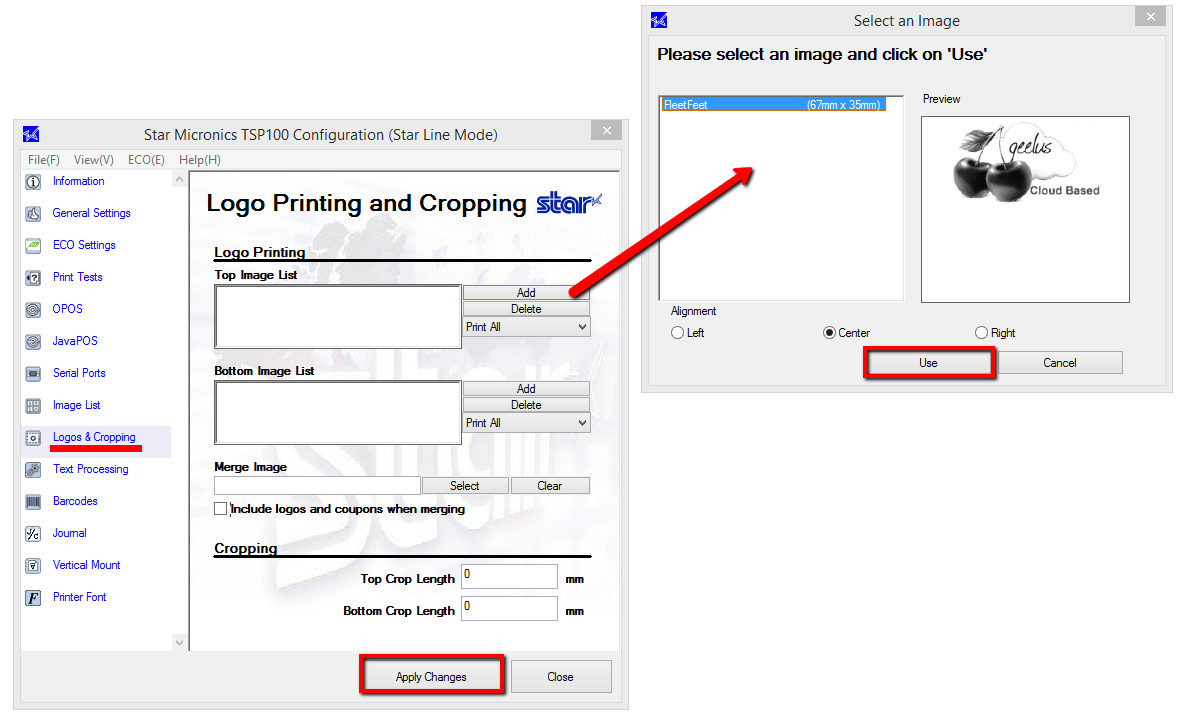
- Select the image you created previously and choose whether the image is formatted to the left, right, or center by pressing the desired bubble. Click Use.
- Click Apply Changes at the bottom and you’re done!
- Now, you can open the Geelus app and test the print.
Note: The Star printer will print logo on ALL receipts and ignores the tag in Geelus print template.



![dry-cleaning-software-transaction-report[1]](https://geelus.com/wp-content/uploads/2022/03/dry-cleaning-software-transaction-report1.png)
![dry-cleaning-software-payment-report-1[1]](https://geelus.com/wp-content/uploads/2022/03/dry-cleaning-software-payment-report-11.png)
![dry-cleaning-software-employees-report[1]](https://geelus.com/wp-content/uploads/2022/03/dry-cleaning-software-employees-report1.png)


